ARC Raiders Turbine Solo Guide:No Climbing, No Snap Hook, Just Fast Easy Win
Tired of climbing all over the Turbine in ARC Raiders and still getting knocked around? There is a simpler way most players overlook. No Snap Hook, no need to get on top. Just two ziplines, two Deadline mines, and a Jupiter can take it down safely in under 2 minutes-saving you from burning through expensive ARC Raiders Items. Where do you place the ziplines? Where do you put the mines? How do you time your shots? I have broken down every step so you can follow along and get it done on your first try.
WHAT YOU WILL NEED
Before you start, make sure you have these items:
Two ziplines (one works too, but two gives you a safer distance)
A Jupiter (your main damage weapon)
Two Deadline mines
A Renegade (or any accurate weapon to clear floor mines)
That is all. No expensive gadgets, no complicated loadouts, no Snap Hook required. This setup is cheap enough to use every single raid without breaking your economy, and if you ever need extra gear to round out your loadout, you can always ARC Raiders BluePrints buy to fill in the gaps.
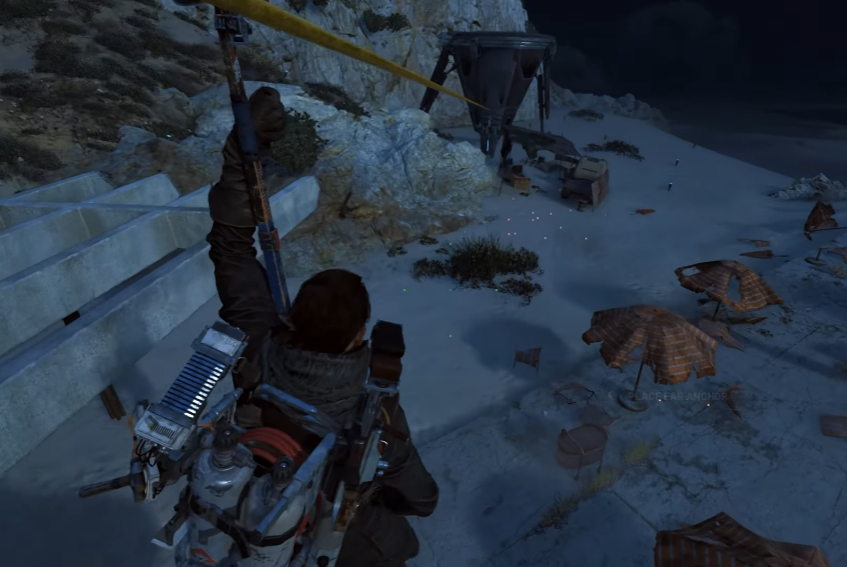
STEP ONE:SET UP ZIPLINES AND CLEAR FLOOR MINES
Set up two ziplines leading away from the Turbine. One zipline works, but two gives you a safe distance to retreat.
Find a high spot like a rooftop where you can look down and clearly see the small mines scattered on the ground around the Turbine. Use your Renegade to clear these mines before you move in.
Important:Shooting floor mines will not trigger the Turbine. Take your time and clear them properly. This step makes the rest of the fight much smoother and prevents unexpected downs.
STEP TWO:PLACE DEADLINE MINES AT THE BASE
Once the ground is clear, take your zipline straight to the base of the Turbine. Place two Deadline mines right at the bottom.
Do not overthink the placement. Just put them down near the base. The damage difference between placing them slightly higher or lower is minimal, so do not waste time adjusting.
The Turbine will start taking off while you are placing the second mine. You will still have enough time, so do not panic. Just get the mine down and get out.
STEP THREE:RETREAT TO SAFE DISTANCE
After placing your mines, leave immediately. Take your zipline back to your original position. The distance here is crucial. It gives you space to see the Turbine's attacks coming and react in time.
Do not stay close. Do not try to get extra damage in. Just retreat and reset your position. This is what keeps the fight safe and consistent.
STEP FOUR:SHOOT WITH JUPITER AND DODGE
From your safe distance, the Turbine splits its attack into three lanes. Usually only one lane comes toward you. The other two go to the sides.
Dodge roll left or right depending on which side is more open, and take shots with your Jupiter in between attacks.
Keep this rhythm going. Do not rush. Do not push forward. Stay patient and the Turbine will go down in under 2 minutes with zero risk.
COMMON MISTAKES TO AVOID
Placing mines on top of the Turbine does not deal more damage and wastes precious time. Placing them at the base is faster and just as effective.
Overthinking mine placement is another common issue. You do not need perfect positioning. Just get them down and get out.
Staying too close after placing mines makes attacks harder to dodge. Always retreat to a safe distance before starting your damage phase.
Ignoring floor mines can get you knocked mid-fight. Clear them first and save yourself the trouble.
QUICK TIPS SUMMARY
If you only have one zipline, it still works. Just stay more aware of your surroundings.
Floor mines will not aggro the boss, so clear them at your own pace without rushing.
Do not panic when the Turbine starts taking off. You have enough time to place the second mine.
Use controlled shots with your Jupiter rather than holding down the trigger. Accuracy matters more than speed.
Practice the zipline and dodge rhythm a few times and you will get it right on your first real attempt.
WHO THIS GUIDE IS FOR
New players:A safe boss kill strategy that works every time
Solo players:Kill the Turbine without needing a team
Budget players:Minimal gear required, maximum efficiency
Speed runners:Consistent sub-2-minute kills
CORE BENEFITS FOR DIFFERENT PLAYER TYPES
New players:Learn a straightforward boss kill process without complicated tricks or risky plays
Solo players:Take down the Turbine on your own without relying on teammates
Budget-conscious players:Save resources with a low-cost setup that still gets the job done
Efficiency-focused players:Get a repeatable 2-minute kill routine that saves time and boosts material farming